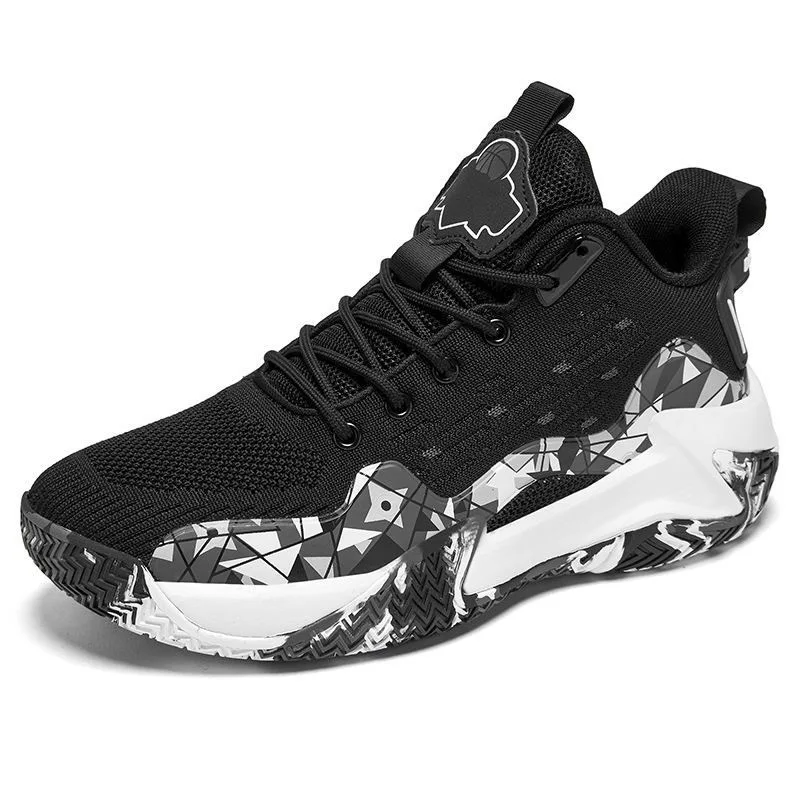
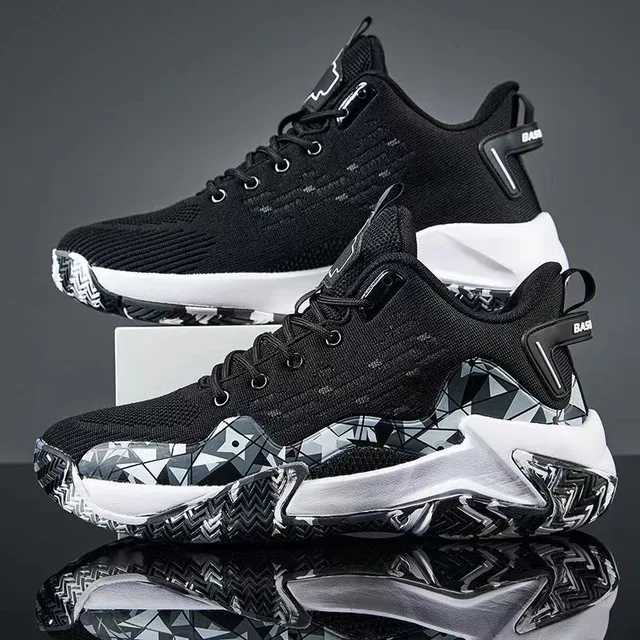
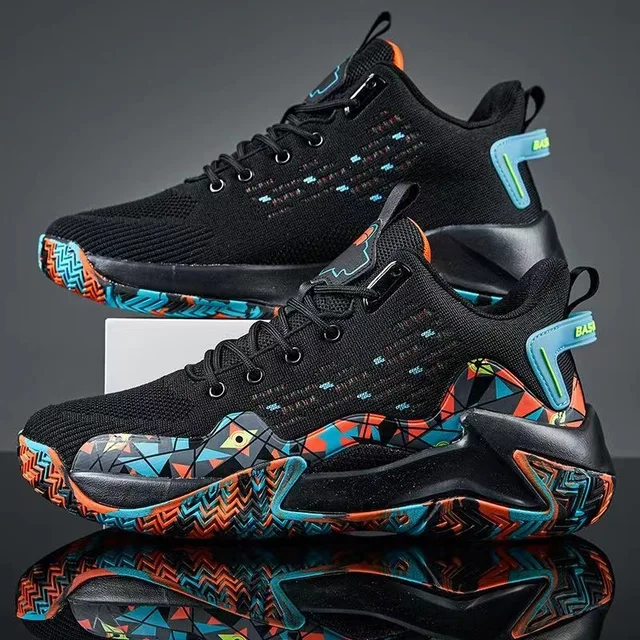
Introduction
Basketball shoes are more than just a fashion statement. They enhance performance on the court, support the foot, and provide stability during gameplay. One often overlooked aspect that contributes significantly to a player’s effectiveness and comfort is the way they lace their shoes. Correct lacing techniques can improve both fit and performance, helping players to regain their edge. In this article, we’ll explore various methods of how to lace basketball shoes and how each technique can affect overall performance.
Understanding the Importance of Proper Lacing
Why Lacing Matters
Lacing your basketball shoes correctly plays a crucial role in your performance on the court. A well-laced shoe ensures that your foot stays snugly in place, minimizing movement within the shoe. When your foot shifts inside the shoe, it can lead to blisters, discomfort, and even injuries. Proper lacing helps to keep your foot secure, allowing you to make quick cuts and jumps without worrying about your shoes slipping off.
Beyond comfort, the way you lace your shoes can influence the support they provide. Depending on your foot shape and playing style, different lacing techniques can offer varying levels of tension across the shoe. This control can help provide the right amount of stability for your ankles, particularly during lateral movements, which are common in basketball.
Types of Basketball Shoes
Before delving into lacing techniques, it’s essential to understand that different types of basketball shoes may require different lacing methods. For instance, low-top basketball shoes are generally lighter and offer more freedom of movement, while high-top shoes provide better ankle support.
Knowing the type of shoe you have will help you determine the best lacing technique to use. For example, players looking for extra ankle support may benefit from a tighter lacing technique around the ankle area. Conversely, players who emphasize speed and agility may prefer a looser fit for more mobility.
How to Choose the Right Lacing Technique
Assessing Your Foot Shape
The first step in mastering lacing techniques is to assess your foot shape. Everyone’s feet are different, and this affects how a basketball shoe fits. If you have wide feet, for instance, you may require a different lacing method than someone with narrow feet.
- Wide Feet: If you have wide feet, you may want to opt for a lacing method that creates more space in the forefoot area. This will prevent discomfort and ensure that your toes have enough room to move without feeling cramped.
- Narrow Feet: If your feet are on the narrower side, aim for a tighter lacing technique. This will help to keep your foot secure inside the shoe, preventing it from sliding around during play.
- Flat Feet: Those with flat feet may also experience a different fit in basketball shoes. A technique that focuses on arch support can be beneficial. Look for lacing methods that allow for more adjustment in the middle of the shoe, which can help accommodate the arch.
By understanding your foot shape, you can choose a lacing technique that maximizes comfort and performance on the court.
Understanding Different Lacing Techniques
There are several lacing techniques you can use when tying basketball shoes. Here are a few of the most common methods:
- Standard Lacing: This is the most straightforward method. Simply criss-cross the laces up to the top and tie them. This technique works well for most players and provides a decent level of support.
- Lock Lacing: This method involves creating a locking mechanism at the top of the lacing. By using the top eyelet loops, you can create a tighter fit around the ankle without putting too much pressure elsewhere.
- Skip Lacing: For those who need more room in the forefoot, skip lacing involves skipping one or more eyelets as you lace up. This can help reduce pressure on your toes and provide a more comfortable fit.
- Heel Lock Lacing: If you’re looking for extra heel stability, heel lock lacing is an excellent option. This technique secures your heel in place, reducing movement within the shoe and providing additional support during gameplay.
Choosing the Right Technique for Your Play Style
Your playing style can also dictate which lacing method is best for you. For example, if you’re a guard who plays fast and relies on quick cuts, a looser fit with a focus on flexibility might be beneficial. On the other hand, if you’re a big man who requires more support and stability, you may want to opt for a tighter fit.
Choose a lacing technique that complements your style of play while considering your foot shape. Adjusting your lacing strategy may take time, but it will significantly affect your comfort and performance on the court.
Step-by-Step Guide to Lacing Basketball Shoes
Step 1: Prepare Your Shoes
Before you start lacing your basketball shoes, ensure they are clean and ready to go. This includes checking the laces themselves. If your laces are frayed or damaged, it’s wise to replace them. Use laces that are of adequate length to ensure they can accommodate your chosen lacing technique.
- Remove Old Laces: If you have previously used a different lacing style, take out the old laces completely. This will give you a fresh start.
- Inspect the Shoe: As you prepare to lace your shoes, check the eyelets for any damage. Make sure they are intact so that your lacing method holds up during play.
- Lay Down the Shoes: Position the shoes so that they are easy to reach. You might want to sit down or place the shoes on a flat surface.
Step 2: Start lacing with the right technique
Choose the lacing technique you want to use based on your foot shape, performance needs, and comfort preferences.
- Standard Lacing: Begin lacing from the bottom eyelet, threading the lace straight across from the outside to the inside of the shoe. Pull both ends of the lace through, ensuring even tension before crisscrossing up.
- Lock Lacing: If you choose this method, after you reach the last eyelet, use the extra lace length to loop back through the top two eyelets creating a lock. This will cinch down the shoe around your ankle for tight support.
- Skip Lacing: Start by lacing through the first eyelet, then skip to the next eyelet up, threading the lace through. This creates a more open fit in the forefoot.
Step 3: Tying Off the Laces
Once you’ve laced your shoes to the top, it’s time to tie them off. A secure knot will ensure that your laces won’t come undone during gameplay.
- Creating a Secure Bow: Form a loop with one lace, wrapping the other lace around it. This is a classic way to create a bow.
- Double Knot for Security: To prevent the laces from coming undone, consider using a double knot. Simply wrap one lace around the other twice before pulling tight.
Step 4: Adjust for Comfort and Fit
After securing your laces, perform a quick fit test. Stand up and walk around in your shoes. Feel for any pressure points or discomfort. Adjust the tension of the laces as needed, ensuring that you have a snug fit without feeling constricted.
- Tightening Adjustment: If any areas feel too loose, consider re-lacing for better support. If other areas feel too tight, undo the laces slightly to allow for a more comfortable fit.
- Final Checks: Perform a few quick movements to simulate basketball actions. Make sure you feel stable and secure in your shoes.
Maintenance of Lacing System
Inspecting Laces Regularly
Taking care of your laces is crucial for maintaining the integrity of your basketball shoes. Regularly check your laces for wear and tear. Frayed laces can lead to breakage during gameplay, jeopardizing your performance.
If you notice wear, replace the laces promptly. Use the same length and thickness appropriate for your shoe type to ensure a proper fit. Keeping a spare set of laces is a good practice, especially if you play frequently.
Maintaining Shoe Structure
Proper lacing also plays a role in maintaining the overall structure of your basketball shoes. Over time, constant lacing and unlacing can weaken eyelets and the shoe’s framework. To extend the life of your shoes, consider these tips:
- Avoid Over-tightening: While securing laces is important, excessive tightening can damage the shoe’s material. Always lace with the balance of snugness and comfort.
- Remove Laces When Storing: Consider removing your laces when storing your shoes for a prolonged period. This can reduce stress on the eyelets and prevent them from stretching out.
- Use Liner Inserts: If your shoes come with additional liner inserts, use them. They can provide extra support and help maintain the shoe’s shape.
Clean Your Lacing System
To keep your laces in the best condition:
- Routine Cleaning: Every once in a while, remove the laces for cleaning. Use mild soap and water to clean them, then air dry completely before re-lacing your shoes.
-
Use a Cleaning Solution for Shoes: A dedicated shoe cleaning solution can help maintain the shoe’s appearance, including the eyelets where laces go. This will ensure that debris does not build up and hinder your lacing process.
The Importance of Proper Lacing Techniques
How to lace basketball shoes? Lacing up basketball shoes might seem simple, but it offers a multitude of benefits that affect your game. Proper lacing helps in securing the foot within the shoe, reducing slippage, and thus improving performance. When your foot doesn’t move around inside the shoe, you gain better control as you dribble, shoot, and make quick cuts. This stability is crucial for preventing ankle injuries that can occur due to improper fit or movement. Additionally, the right lacing techniques can boost your comfort level, allowing you to focus on your game without unnecessary distractions.
The fit of a shoe is invaluable in basketball. A loose shoe can cause blisters and calluses, distracting a player from their performance. On the contrary, a shoe that is too tight can cut off circulation, causing discomfort and potentially leading to injury. Each player’s foot shape differs, and thus a one-size-fits-all lacing technique doesn’t exist. Recognizing how your foot feels in a laced shoe is essential. You should experiment with different lacing styles to find the one that gives you the best balance between comfort and support.
Lastly, the type of game you play can also influence how you lace your shoes. If you’re a guard who requires quick, agile movements, your lacing method may differ from that of a center who needs a more stable base. Knowing your position and playstyle is vital in choosing the right lacing technique. Understanding these factors will not only help you avoid injuries but also improve your overall performance on the court.
Basic Lacing Techniques for Basketball Shoes
Before diving into advanced lacing techniques, it’s worth discussing the fundamental lacing method. Almost every basketball shoe comes with traditional eyelets spaced evenly along the shoe. This method is straightforward and allows for even tightness across the foot. Start by lacing your shoes from the bottom up. Take the laces and weave them through each pair of eyelets. Ensure that the laces are tightened uniformly as you go up the shoe.
Once you reach the top eyelet, you have options. You can either tie a traditional bow or create a more secure knot. Double-knotting is also an excellent option for players who engage in quick movements. A double knot will prevent the laces from coming undone during gameplay. This lacing method offers good support and works well for most players. However, players looking for personalized adjustments can explore some advanced techniques.
In addition to the basic technique, consider varying lacing patterns to target specific areas. For example, if you struggle with heel slippage, you can create a “heel lock” by lacing the top two eyelets in a manner that crosses the laces above the eyelet. This lacing technique locks the heel in place and helps prevent unwanted lateral movement.
Advanced Lacing Techniques: Customizing Comfort
As mentioned earlier, different players require various levels of support. This section will explore advanced lacing techniques aimed at providing customized comfort based on your unique needs. One popular technique is known as the “Skip Lacing” method. In this technique, players intentionally skip one or more eyelets as they lace their shoes. This method allows for more space in the forefoot and can help alleviate discomfort that can arise from tight lacing. It may feel a bit strange at first, but the comfort it offers can be a game-changer.
The “Lock Lacing” technique is another effective method. This technique can be particularly useful for players engaging in high-impact activities. To implement this technique, weave the laces into the top two eyelets and pull them tightly, creating a loop. Then, thread the lace through the loop and pull it tight. This method locks the heel down and gives extra support to the ankle.
It’s also worth considering the “Narrow” and “Wide” lacing techniques, depending on the width of your foot. For those with wide feet, a wider lacing pattern can relieve pressure points and make the shoe more comfortable. Conversely, if your feet are narrower, tighter lacing can secure your foot more effectively within the shoe. Adjusting the width of the lacing can make a significant difference in how your shoes fit, especially during those critical game moments.

Special Considerations for Different Foot Shapes
Everyone’s feet differ in shape. Understanding your foot type can guide how you lace your shoes. Players with flat feet typically experience more pronation. Thus, they might benefit from a locking technique that secures the heel and provides ample arch support. This might include adding an additional lace through the arch area to better anchor the shoe to the foot.
Conversely, those with high arches might find that a snug fit across the top of the foot improves their comfort. For these players, a lacing method that offers a more aggressive cinch can provide the necessary support. This adjustment can lead to better performance and less fatigue during play.
Additionally, some players may experience foot conditions that require tailored lacing techniques. Those dealing with bunions may want to lace their shoes looser in the area surrounding the bump. This ensures there isn’t added pressure on a sensitive area, which could escalate into more significant discomfort.
Lacing for Ankle Support: A Focus on Stability
Ankle support is paramount for basketball players. The game often demands sudden stops, pivots, and changes in direction. Because of this, lacing techniques can play a vital role in providing additional ankle support. Many shoes come with extra ankle pads or features designed to cradle the ankle while lacing. It’s important to utilize these features as they can significantly support and stabilize your ankle during play.
One lacing method that excels at providing ankle support is using the “Criss-Cross” technique. In this method, you will use the typical criss-cross pattern for the lower eyelets, but as you move up, make adjustments to create a more lateral grip around the ankle area. This technique can prevent rolling of the ankle and offers the foot a snug fit.
If you have a history of ankle injuries, the “Figure-Eight” lacing technique could be a realistic option. This particular technique focuses on reinforcing the laces between the ankle and forefoot, creating a stronghold around the midfoot. Players who wish to minimize their risk of injury while maximizing their performance should consider this advanced option.
The Right Way to Lace Basketball Shoes: Basic Lacing Techniques
The first step in lacing basketball shoes is to ensure that both laces are even. Start by pulling the lace through the eyelets, making sure the lace is balanced on both sides. Once you’ve done this, begin with a simple criss-cross pattern, weaving the laces over and under the eyelets. This basic technique ensures that the shoe fits snugly on your foot.
When tying the knot, make sure to create a secure bow that won’t come undone during gameplay. A double knot can provide extra security, preventing the laces from loosening while you’re running, jumping, or making quick pivots. You should always check the fit of the shoes after tying the laces. The shoe should feel snug but not too tight around the midfoot and heel. There should be no gaps between the foot and the shoe’s upper material.
Advanced Lacing Techniques for Basketball Shoes
In addition to the basic criss-cross method, there are several advanced lacing techniques that can improve your fit and comfort. These methods are especially helpful for players who experience discomfort in specific areas of their feet. Some players may have high arches, while others might have wide feet or suffer from heel slippage. Each of these problems can be alleviated by using a different lacing technique.
Lacing for Heel Slippage
One common issue that players face is heel slippage, which occurs when the heel of the foot lifts out of the shoe during movement. This can lead to blisters and discomfort. To address this issue, try using the “lock lacing” technique. Begin by lacing your shoes normally until you reach the second-to-last set of eyelets. At this point, lace the two remaining eyelets by threading the lace through the top hole and then back through the second-to-last hole on the same side. This creates a “lock” that holds the heel in place and prevents slippage. Once you’ve completed this step, tie your shoes as usual.
Lacing for Wide Feet
Players with wide feet may struggle to find basketball shoes that fit properly. Tight shoes can lead to discomfort, while shoes that are too loose may not provide the necessary support. For individuals with wide feet, the “skip-lacing” technique can be helpful. This involves skipping one or two eyelets on each side of the shoe to provide more room in the toe box. By skipping these eyelets, you create a bit more space across the width of the shoe. This can make the shoes feel more comfortable without sacrificing support.
Lacing for High Arches
For those with high arches, the pressure from tight laces can lead to foot pain. To relieve this discomfort, consider the “parallel lacing” technique. Instead of crossing the laces over each other, lace them through the eyelets in a parallel fashion. This technique helps to evenly distribute pressure across the foot and can prevent the laces from pressing into the top of the foot, which is common for players with high arches.
Conclusion: Finding What Works for You
Understanding how to lace basketball shoes is essential for improving comfort, fit, and performance. Although various lacing techniques exist, the best method ultimately depends on individual foot shape and player style. It’s crucial to try out different techniques to understand what feels comfortable and what enhances your playing style.
Above all, remember your personal preferences. What works for one player may not work for another. Keep experimenting with different lacing methods until you find the perfect fit for your game. Your shoes are an extension of yourself on the court, and mastering the lacing technique can take your performance to new heights. Next time you hit the court, spend some time perfecting how you lace those basketball shoes. The benefits will be well worth your time.
The path to becoming a better player starts with the fundamentals, and understanding the nuances of lacing can make a world of difference. So, lace up, hit the court, and show off your skills!