Essential Tools and Materials Needed for Making Leather Shoes
Before diving into the hands-on process of making leather shoes, you must gather the right tools and materials. This step ensures that you have everything you need when you start, providing for a smooth and efficient workflow. Here is a rundown of the essential items to have in your shoe-making kit:
- Leather: The primary material for your shoes. Choose quality leather that suits your design.
- Shoe lasts: These are molds that give your shoes their shape. Select the right size for a proper fit.
- Cutting tools: Good quality knives and scissors for precise cutting of the leather.
- Hole punches: For creating clean holes for stitching and lacing.
- Hammer: To tap and flatten seams or install hardware.
- Adhesives: Strong glue to bond leather parts before sewing.
- Needles and thread: Strong needles and durable thread specific for leather stitching.
- Awl: A sharp tool for marking leather and aiding in hand stitching.
- Measuring tape: For accurate measurement of leather and feet.
- Shoe patterns: Templates for cutting the leather accurately.
Remember, high-quality tools can make a significant difference in the ease of making leather shoes and the final outcome. Be sure to practice using each tool on scrap leather to master their use before starting your project. With these tools and materials ready, you’re set to begin the rewarding process of crafting your own leather shoes.
Basics of Leather Selection for Shoe Making
When learning how to make leather shoes, selecting the right leather is crucial. The type of leather impacts both the look and longevity of the shoe. Let’s delve into the basics of choosing leather for shoe making.
- Type of Leather: Full-grain leather is ideal for durability and breathability. For a more polished look, choose top-grain leather.
- Leather Thickness: The leather’s thickness matters for the shoe’s form and flexibility. Usually, 4-5 oz leather works well for most parts of a shoe.
- Leather Quality: Inspect for imperfections. High-quality leather has fewer blemishes and a consistent texture.
- Leather Flexibility: It should be flexible enough to mold to the shoe last but strong enough to retain shape. Bend the leather to test its pliability.
- Tanning Process: Vegetable-tanned leather is sturdier and suited for shoe making compared to chrome-tanned leather, which is more flexible and softer.
Understand these basics to make informed decisions about the leather for your shoes. The right choice ensures comfort, durability, and style in your handmade leather shoes.
Designing Your Leather Shoes: Pattern Creation and Cutting Techniques
When learning how to make leather shoes, design is key. Start with a clear shoe concept. Your design determines the pattern and ultimately, the look of the final product. Here’s how to create patterns and cut leather efficiently.
- Sketch Your Design: Begin with a simple sketch of the shoe design. Consider style, seams, and closures.
- Create a Template: Use cardboard or thick paper to translate your sketch into a pattern. Ensure precision for a better fit.
- Transfer Patterns: Place your patterns on the leather, trace carefully, and check alignment.
- Cut Leather Pieces: Using sharp cutting tools, follow the pattern to cut the leather. Sharp tools make clean cuts.
- Refine Edges: Smooth out any rough edges for a professional look. Use a beveler if needed.
Use these techniques to make sure your leather pieces are ready for stitching. Attention to detail in this stage is crucial for a high-quality finish. Remember to practice on scrap leather before cutting into your selected leather for the actual shoes. This will help you avoid mistakes and waste of material.
Stitching Techniques for Assembling Leather Shoes
When your leather pieces are cut and ready, stitching them together is the next crucial step. Proper stitching techniques ensure durable and attractive leather shoes. Here’s how to proceed:
- Select the Right Thread: Choose a strong polyester or nylon thread for best results. It must withstand regular wear and tear.
- Prepare Your Needles: Use two needles for hand-stitching, as this technique offers more control and strength.
- Master the Saddle Stitch: This hand-stitching method is preferred for leather shoes. It involves using two needles working in opposite directions on the same seam.
- Use an Awl: Make consistent holes with an awl before stitching. This will allow your needles to pass through more easily.
- Be Consistent: Maintain even stitching lengths for a neater appearance. Consistency is key!
- Reinforce Stress Points: Double-stitch at the beginning and the end of a seam to add strength.
Take your time with stitching, as rushed work often leads to mistakes. With patience and practice, you’ll create a pair of sturdy, hand-crafted leather shoes. Remember to apply these tips as you learn how to make leather shoes, and you’ll enhance both their durability and their beauty.
Lasting and Shaping the Leather Shoe Structure
Once your leather pieces are stitched together, shaping the shoe on the last is crucial. Lasting gives the structure and form necessary for a well-fitted shoe. Here are the steps to last and shape your leather shoes:
- Mount the Upper on the Last: Stretch the leather upper over the shoe last. Secure it tightly to prevent wrinkles or gaps.
- Adjust the Leather: Ensure the leather follows the contours of the last precisely. This step determines the fit and comfort of the shoe.
- Attach the Insole: Glue the insole to the bottom of the lasted upper. It should align perfectly with the edges of the last.
- Shape the Heel and Toe: Pay special attention to the heel and toe areas. These parts must be shaped accurately for a professional look.
- Leave to Set: Let the shoe sit on the last for a while. This allows the leather to mold to the shape and retain it when removed.
Shaping is a delicate process that defines how your handmade leather shoes will look and feel. Take time to smooth out any creases and ensure every curve is molded perfectly. After this step is complete, you’ll proceed to add the soles and heels, moving one step closer to finishing your unique leather shoes. As you learn ‘how to make leather shoes,’ always remember that practice makes perfect with lasting and shaping. The more shoes you craft, the more skilled you’ll become in this pivotal process.
Adding Soles and Heels to Your Leather Shoes
With the upper part of your leather shoes shaped, it’s time to attach the soles and heels. This stage is critical for both the shoe’s functionality and aesthetics. Here is a step-by-step process:
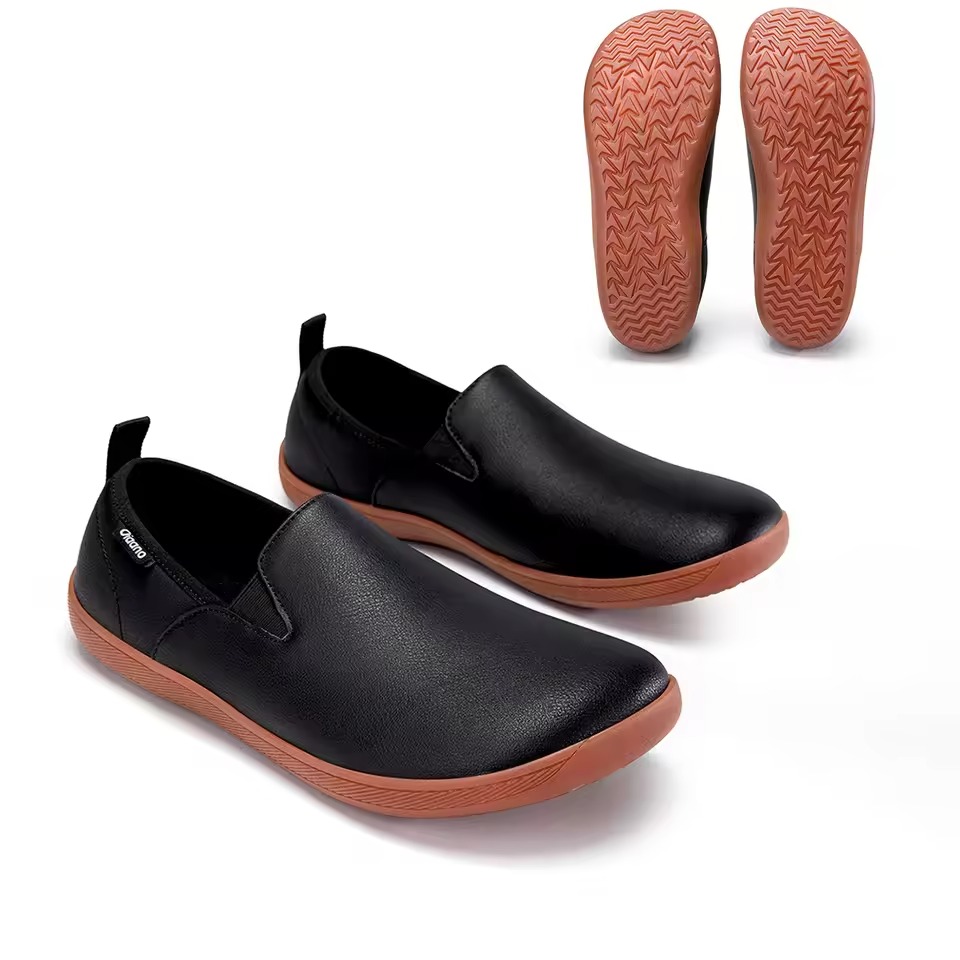
- Choose the Sole Material: Pick a sole material that is durable and suitable for the shoe style. Rubber and leather are common choices.
- Cut the Sole to Size: Trace the last’s bottom shape onto the sole material, then cut it out. Use sharp tools for a clean edge.
- Attach the Sole: Apply strong adhesive to bond the sole to the shaped upper. Press firmly to ensure a solid attachment.
- Align the Heel: If adding a separate heel, align it perfectly with the sole. It should look seamless and be well positioned for balance.
- Secure the Heel: Use nails or strong glue to fix the heel in place. This adds stability to the shoe.
- Trim Excess Material: After everything is attached, trim any excess material from the sole and heel. This gives a neat finish to the edges.
Attaching soles and heels requires attention to detail. Make sure each step is done with care. Properly added soles and heels add life to your leather shoes, making every step comfortable. Practice these techniques as you learn how to make leather shoes, and each pair you create will be a testament to your craftsmanship and skill.
Finishing Touches: Polishing and Waterproofing
After attaching soles and heels, your leather shoes need finishing touches. The right polishing and waterproofing techniques ensure your shoes not only look great but also stand up to the elements. Here’s how to add the final touches:
- Polish Your Shoes: Choose a suitable polish that matches the color of your leather. Apply with a soft cloth in circular motions for an even coat. Allow it to dry, then buff to a shine with a brush or rag.
- Condition the Leather: Conditioning keeps leather supple and prevents cracking. Use a leather conditioner after polishing to nurture the material.
- Waterproof Your Shoes: Protect your leather shoes from water damage by applying a waterproofing agent. Make sure the shoes are clean and dry before treatment. Spray or rub the waterproofing product evenly over the surface.
- Dry Your Shoes Properly: Let the polish and waterproofing agent set by drying your shoes in a well-ventilated area. Avoid direct sunlight or heat sources, as these can warp the leather.
By following these steps, you add life and luster to your handmade leather shoes. Remember to re-polish and waterproof your shoes regularly, especially if you wear them often. With care, the shoes you’ve crafted will serve you well for years to come. As you learn how to make leather shoes, consider these finishing techniques the cherry on top of a rewarding project.
Troubleshooting Common Issues in Handmade Leather Shoe Crafting
While learning how to make leather shoes, you might face some common issues. Being prepared to handle these can save time and frustration. Here are solutions to typical problems you might encounter:
- Loose Stitches: If stitches come loose, it’s often due to weak knots or tension. To fix, reinforce the ends with stronger knots and ensure consistent tension during stitching.
- Wrinkled Leather: Leather can wrinkle when lasted improperly. Smooth out wrinkles by dampening the leather slightly and re-lasting. Be careful not to over-wet the leather as it may stretch or warp.
- Uneven Cutting: An uneven cut on the leather can ruin the shoe’s look. Always use sharp tools and double-check the pattern alignment before cutting. If an error occurs, trim carefully to correct the line.
- Gaping Seams: Gaps in seams can be due to uneven hole placement or stitching. Re-punch the holes if needed and stitch the seam again, keeping your stitches even and pulled tight.
- Insufficient Glue Adhesion: If parts start to separate, it may be due to weak glue bonds. Reapply glue, press firmly, and allow adequate drying time for a stronger bond.
- Scuff Marks: Accidental scuffs on the leather can affect the finish. Gently rub the area with a leather conditioner or oil to blend or reduce the appearance of the mark.
- Fit Issues: If the shoe doesn’t fit well, it may need adjustment on the last. Pay extra attention to the lasting process and make minor adjustments to the leather for a better fit.
Remember, patience and practice are key in learning how to make leather shoes. These common pitfalls can often be avoided with careful work and attention to detail. Don’t be discouraged by mistakes; they are part of the learning process and each one teaches you more about the craft.