Introduction
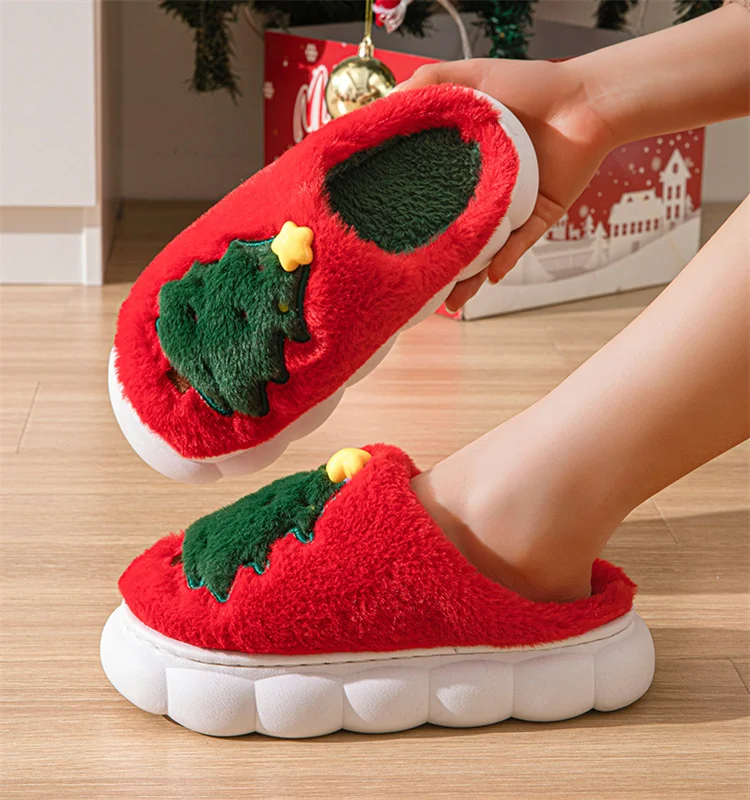
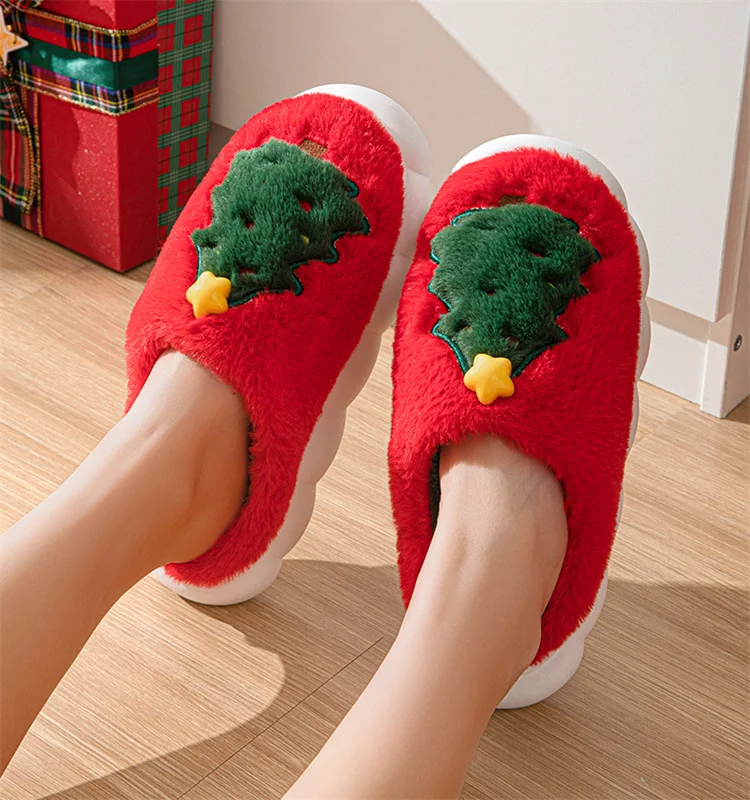
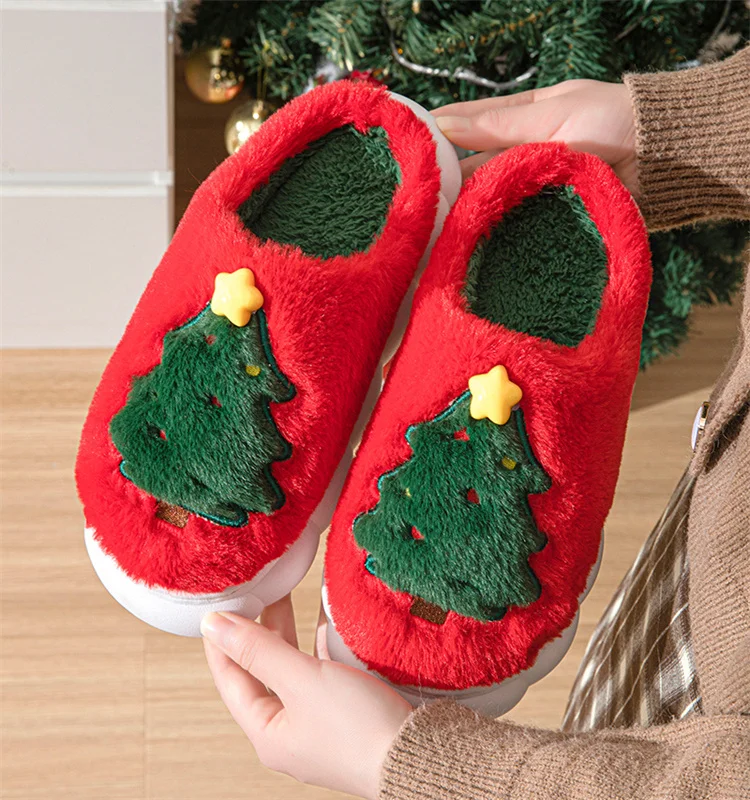
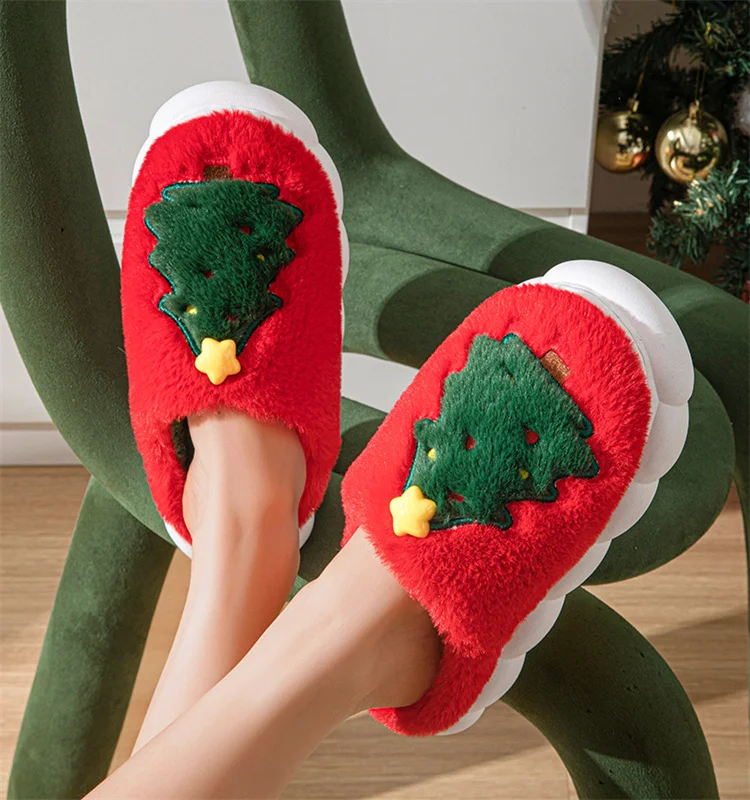
Creating your own festive holiday footwear can be a rewarding and fun project. DIY Christmas shoes allow you to express your creativity while also ensuring that you stand out during the holiday festivities. This article will guide you through the process of making your own decorated shoes, from choosing the right base to applying creative techniques and finishing touches. Whether you’re an experienced crafter or a beginner, you’ll find ideas that inspire you to bring the holiday spirit to your feet.

The Importance of Personalization
Why Custom Christmas Shoes Matter
Holidays are often a time for self-expression, and footwear is no exception. When you create your own Christmas shoes, you showcase your personality and style. It’s a chance to incorporate elements that reflect your interests. Maybe you love classic Christmas colors, or perhaps you prefer a modern take on holiday themes. The customization process also allows for the integration of traditional ornaments or symbols that resonate with your personal story.
Personalized shoes also make excellent gifts. Friends and family members will appreciate the effort you put into making them a unique pair of shoes. Custom footwear can help in celebrating different cultures and traditions associated with the holiday season. This makes your shoes not only fashionable but full of meaning and sentiment.
Finally, crafting your own shoes provides a therapeutic break from holiday stress. The process of creating can be meditative, allowing you to unwind and escape the hustle and bustle of the season. When you give yourself time to create, you cultivate mindfulness, and you may find that you enjoy the process just as much as the outcome.

Choosing the Right Base
Selecting Your Footwear
Your first task in creating DIY Christmas shoes is to select a suitable base. The type of shoes you choose will heavily influence your designs, so consider several factors. You might pick an old pair of sneakers or boots that you want to revamp. Alternatively, you could purchase plain shoes explicitly for this project. Canvas shoes, like Vans or Converse, are excellent choices due to their adaptability and fabric flexibility.
If you are starting with a new pair, make sure they are comfortable. It’s essential to choose shoes that you will enjoy wearing throughout the holiday season. Consider your usual style as well. If you love heels, it may be a bit challenging to mix with stick-on elements. Meanwhile, flats or oxford styles can offer a great canvas for crafting.
Once you’ve settled on a base, think about the theme you want to convey. Do you want classic red and green colors, sparkling gold elements, or whimsical patterns featuring Christmas trees and snowflakes? Deciding on a concept is crucial to creating a cohesive design. Sketch out ideas if you feel inspired.
Next, make sure your chosen shoes are clean. Wash them and let them dry completely before beginning your project. A clean surface is essential for adhesives to work effectively. Do not rush this step, as it sets the stage for everything to come.
Gathering Your Supplies
What You Need for a Successful Crafting Session
After you finalize your shoe selection, the next step is to gather all the supplies you will need for your project. This preparation will make your crafting session more streamlined and enjoyable. Starting with the basics, consider what type of decorations you want to use: fabric paint, glitter, ribbons, or even small ornaments. Each of these materials brings a different aesthetic and texture to your finished product.
For painting, make sure to choose fabric or acrylic paints designed for use on shoes. These paints adhere better to various materials and are often washable. Glitter can add a magical touch, but remember that it can also be messy. If you decide to use glitter, consider applying it over glue while it is still wet or using a spray adhesive designed for this purpose.
Another essential item includes brushes or sponges for applying your paints. Get some palettes or containers for your paints to facilitate easier mixing and application. Don’t forget to have some painter’s tape on hand. It helps create straight lines and can be a lifesaver for neat designs.

In addition to the décor, you might consider additional practical items like waterproof sealants. These can protect your creative work from damage, especially if you’re planning to wear your shoes in wet conditions. A pair of gloves may also be useful, as they will keep your hands clean during the fun parts!
Lastly, prepare a designated crafting space. A clean, well-lit area will make your project more enjoyable and help prevent accidents. Lay down newspaper to catch any spills or mess, and remember to keep a trash bag handy for all your scraps.
Designing Your Shoes
Exploring Different Design Techniques
Once you have your formulation and supplies, you’re ready for the most exciting part—designing your shoes! Start with a rough concept based on your initial ideas. Consider whether you want a simple pattern, like stripes or dots, or a more complex scene, such as Santa’s workshop. Sketching your design on paper can be beneficial. It helps you visualize the outcome before you start applying paint and decorations.
Using painter’s tape is a clever way to create clean lines and intricate designs. For example, if you’re creating stripes, apply the tape in the desired layout before painting. Once the paint dries, you can remove the tape to see the crisp edges. You can also combine colors—use a sponge for a gradient effect or layer colors for added depth.
You might also consider working with stencils. They can help you create uniform shapes, particularly if you’re not confident in freehand painting. You can purchase pre-made stencils or design your own! Just ensure that they are compatible with the paint or decoration technique you’ve chosen.
Another approach is to use fabric glue to apply three-dimensional elements. Small bows, pom-poms, or even felt decorations can add texture to your footwear. These 3D aspects can make your shoes stand out even more. Just be sure to secure them properly and let everything dry thoroughly.
As you design, don’t forget to keep comfort in mind. Too many embellishments or heavy decorations can make the shoes clunky. Aim for a balanced look where creativity meets usability. Step back from your creation regularly to evaluate how well the design fits together.
Applying Your Creations
How to Transfer Ideas to Your Shoes
With your designs drawn, it’s time to apply them to your shoes. Start with the base layer, such as painting the entire shoe a solid color if desired. This can work as a backdrop for your designs. Allow this layer to dry completely before proceeding to the next step. Patience is crucial; rushing this process can lead to smudges.
When applying your primary design, use a steady hand! If you feel unsure, use a light pencil or fabric chalk to outline the design before painting. This approach can help you get the proportions and spacing correct. For details and fine lines, consider using a smaller brush for more precision.
If you’re using glue and 3D elements, apply a thin layer and press your decorations firmly. Let them sit undisturbed for several hours to ensure they adhere well. For extra security, consider adding a sealant over the top of your finished design. This sealant provides added durability and can protect the decorations from weather or wear.
Once you’ve completed applying all your decorations, step back and assess your shoes. Do they look cohesive? Are there areas that may need more color or embellishment? This review is the perfect time to make minor adjustments.
Finishing Touches
Adding That Final Holiday Flair
After your designs and decorations are fully dry, it’s time to add the finishing touches. Consider incorporating additional elements like laces, charms, or interchangeable decorations that can add personality. For example, consider festive laces covered in snowflakes or jingle bells.
For a polished look, make sure to clean up any excess paint or glue that may have spread to unexpected areas. A small damp cloth can help remove unwanted spots without ruining your design. Polish your shoes to give them that extra shine, making them more appealing for holiday gatherings.
You can also personalize them further with temporary holiday tattoos or decals. These are easy to apply and can add a fun twist. They can be used to create scenes that depict classic holiday stories or showcase your favorite symbols of the season.
Finally, don’t forget to plan occasions to wear your festive shoes! Family gatherings, holiday parties, or even casual day trips can give your creations the debut they deserve. Take pictures to document your hard work and share your designs with friends and family.
Maintaining Your DIY Christmas Shoes
Ensuring Longevity of Your Creations
With the holiday season being such a busy time, it’s crucial to ensure that your DIY Christmas shoes last the entire season—and beyond! The maintenance of your creations can largely determine how long they stay vibrant and beautiful. Always refer to the care instructions associated with the materials you’ve used, especially if you’ve incorporated fabric or painted shoes.
For starters, avoid exposing your embellished shoes to wet conditions unless they’re treated with waterproofing sprays or sealants. If they get dirty, gently wipe them with a damp cloth. For stubborn stains, a small amount of mild soap and water may work wonders.
If you notice any loose decorations, consider reinforcing them with additional adhesive. This check is essential, especially after your shoes have gone through wear on various surfaces. Regular inspections and quick fixes will keep them looking brand new.
Storing your shoes properly can also help prolong their life. Avoid squeezing them into tight spaces, as this may crush your decorations. Instead, keep them in a dedicated area where they have room to breathe. Should it be off-season, consider storing them in a breathable pouch to protect them from fading or moisture.
Finally, think about how you want to preserve your shoes for future holidays. If you want to keep wearing them annually, dedicate time each year for upkeep or slight redesign. This practice can create a delightful tradition of reflectiveness and creativity that adds new meaning to your DIY Christmas shoes.
Conclusion
Creating your own festive footwear is an enjoyable way to embrace the holiday spirit. DIY Christmas shoes enhance your style and allow you to express your creativity and personal story. With a simple pair of shoes and some supplies, you can turn a basic item into a piece of art for your feet.
From selecting the right base and gathering supplies to designing and applying your creations, you will experience a unique journey as an artist. Don’t hesitate to embrace your creativity and think outside the box. The end product will be not only a beautiful pair of shoes but also a story to tell and a heartfelt piece to wear. So, get started and let your feet shine bright this holiday season with your very own DIY Christmas shoes!
